Digitising My Visual Vocabulary
DYCP Artist: Leigh de Vries
Embarking on my DYCP journey into the world of 3D, I immersed myself in learning to craft captivating 3D artworks using Blender, an incredible free open-source 3D software. Blender's rich feature set and vibrant, fast-growing community provided both the tools and the support I needed to evolve my practice.
This experience was a transformative odyssey, filled with discovery and creative expansion. Below, I share my workflow, the journey with its myriad challenges and triumphs, and a deep reflection on how this project has reshaped my artistic vision.
Getting familiar with Blender
In the initial stage, I dedicated myself to mastering Blender’s user interface. To do this, I immersed myself in a variety of online tutorials, drawing from resources on both Skillshare and YouTube.

I started with Harry Helps’ campfire scene tutorial on Skillshare, which taught me scene composition, lighting techniques, and environmental design. This project allowed me to experiment with light direction, shadow creation, and setting a mood for a 3D scene.
Harry Helps’ Complete Beginners Guide to Blender 3D

I followed Kaiwan Shaban’s series on creating cinematic scenes with Blender. This series covered advanced techniques for scene composition and mood setting.

I tackled Ryan King Art’s tutorial to create a 3D snowman. This project introduced me to character modeling and gave me hands-on experience with Blender’s sculpting and rigging tools.
Ryan King Art’s 3D Snowman Tutorial
I also studied Kaiwan Shaban’s master class on lighting in Blender, which deepened my understanding of how to craft dramatic and visually compelling scenes.

I created 3D donuts through Blender Guru’s beginner tutorial series, which provided essential modeling techniques and was invaluable in getting me acquainted with Blender’s interface and basic functions.
Blender Guru’s 3D Donut Tutorial

I took Harry Helps’ Skillshare course where I experimented with geometric elements, unique materials, and vibrant lighting setups for creating a vaporwave animation.
Navigating the Learning Curve
After I got comfortable with Blender’s user interface, I began tackling the learning curve using these strategies.
Method #1: 1-on, 1-off
I adopted the “1-on, 1-off” approach developed by Blender Guru:
Complete one tutorial project.
Work on one project entirely on my own.
Repeat the cycle.
For example, I followed DuckyD: Create A Tranquil Landscape Animation in Blender (Blender Tutorial). The next day, I put my skills to the test by designing the landscape from scratch.
The 1-on, 1-off approach was instrumental in helping me intentionally reapply the techniques I had learned. It also motivated me to explore new projects on my own.
Tip: Be patient. Your first render might not be perfect. It takes time to fine-tune materials and lighting to achieve the look you want.
1-Hard, 1-Easy
Learning 3D can be mentally taxing, so I used the 1-Hard, 1-Easy method to avoid burnout:
Tackle a challenging project.
Follow it up with a simpler task.
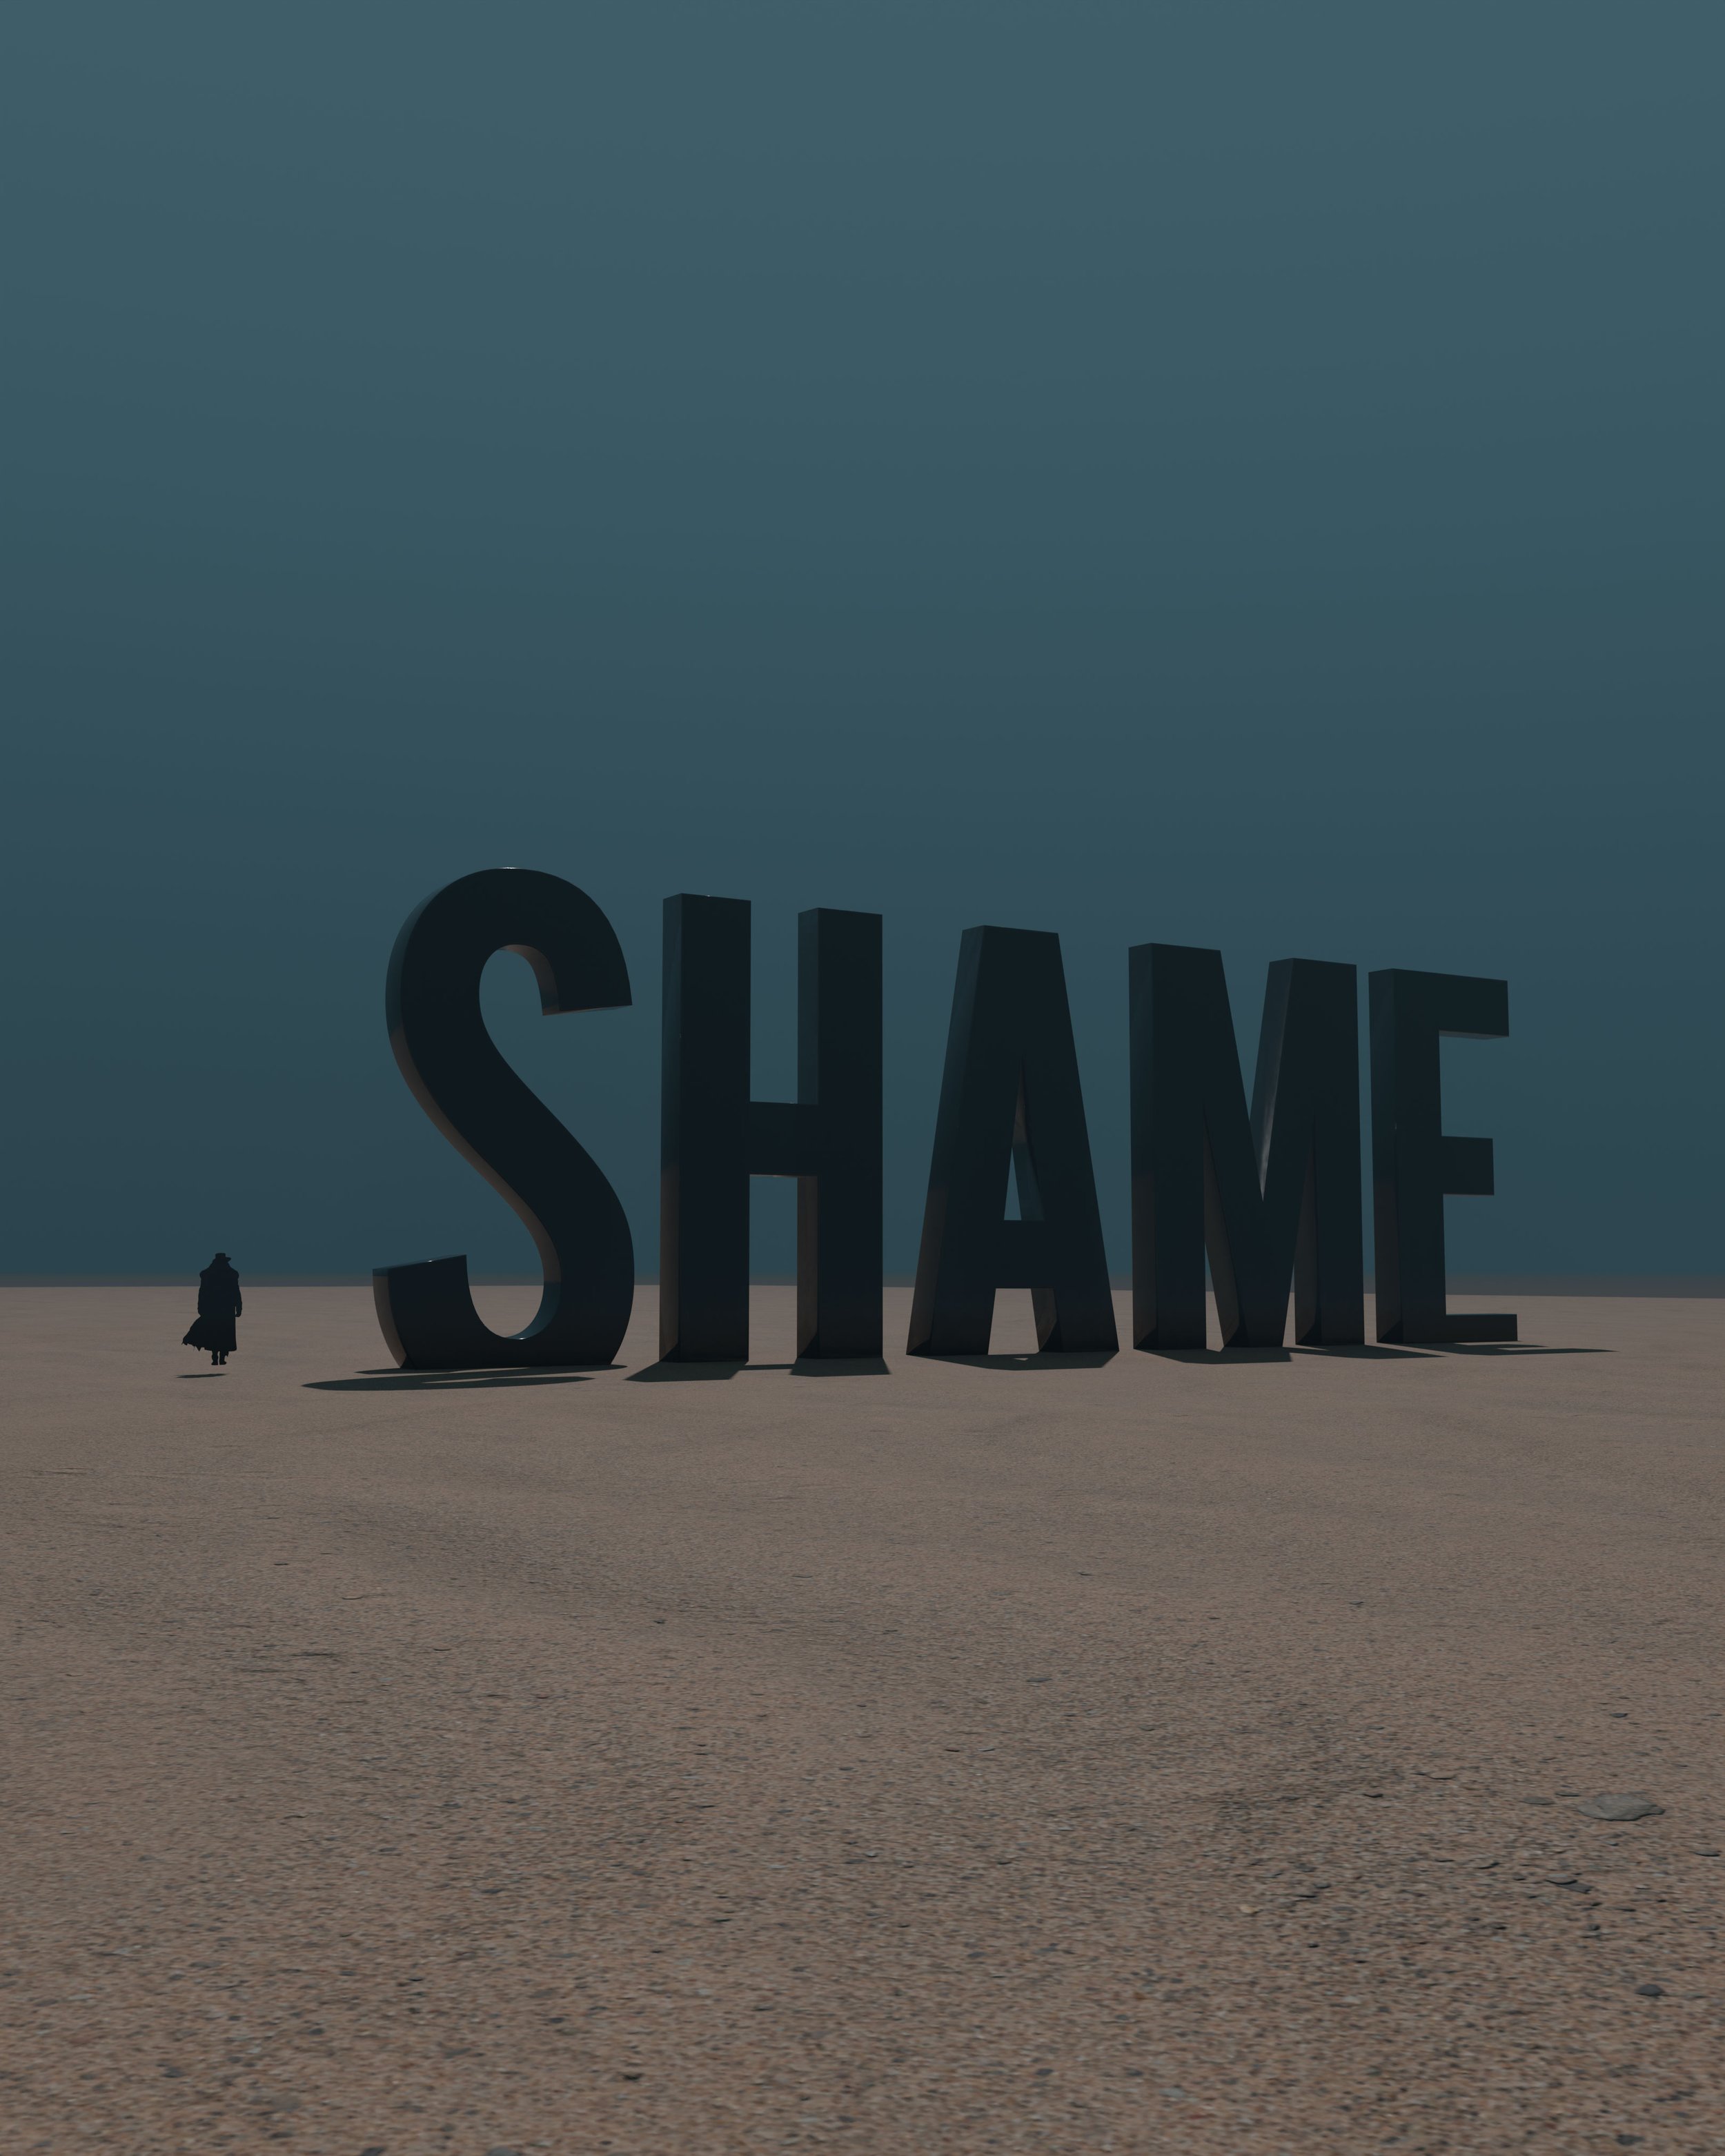
I spent time exploring in-depth tutorials on using text in Blender and designing incredible landscapes. With what I learned, I created my very first giant letter installation, "SHAME," in the desert. It was such an exhilarating experience as I saw for the first time how my new 3D skills could evoke strong emotions and tell a story.


Exploring Material Creation
At this stage, I immersed myself in the art of material creation, delving into various techniques to craft visually stunning and realistic materials. This exploration was crucial for my giant letters, as well as for creating my dessert landscape and envisioning an ocean scene. I engaged in several tutorials and uncovered a range of methods, including:
Geometry Nodes: I learned to create a procedural base mesh and generate custom attributes, such as colour or roughness maps, to lay the groundwork for complex materials.
Shader Editor: I utilised these attributes to build intricate shader setups, refining the final material’s appearance with advanced node configurations.
Texture Paint: I applied artistic details and fine-tuned texture elements directly on the model, adding the final touches to achieve the desired look.
External Tools: I explored external applications such as Adobe substance painter for material creation and modification, bringing these textures into Blender for integration and further refinement.
By mastering these techniques and understanding when to use each one, I could select the most effective approach or combination of methods for my specific project needs in Blender.


For this example, I used Geometry Nodes in Blender to create my desert. Geometry Nodes are a tool that allows you to build 3D models using a series of connected blocks. I chose them because they make it easier to generate and adjust complex models like a desert terrain quickly and efficiently.

Create Something on Your Own
In the beginning, I relied heavily on existing tutorials. As I became more familiar with Blender, I challenged myself to create something independently. I envisioned two distinct worlds for my project. One would be set in a vast desert, featuring my “SHAME” installation, while the other would be submerged underwater with my “ANXIETY” letters. I was excited by the idea of placing these giant letters in environments I had never been able to imagine before.
Creating something on my own was far more difficult than following a tutorial. I would spend hours researching and experimenting with various techniques, often feeling frustrated because I couldn’t achieve the desired result. Despite the challenges, this process helped me acquire some of the most useful techniques.
The real learning occurred when I entered "problem-solving" mode and tried to figure things out on my own. Passive learning generates knowledge, but active practice develops skill.
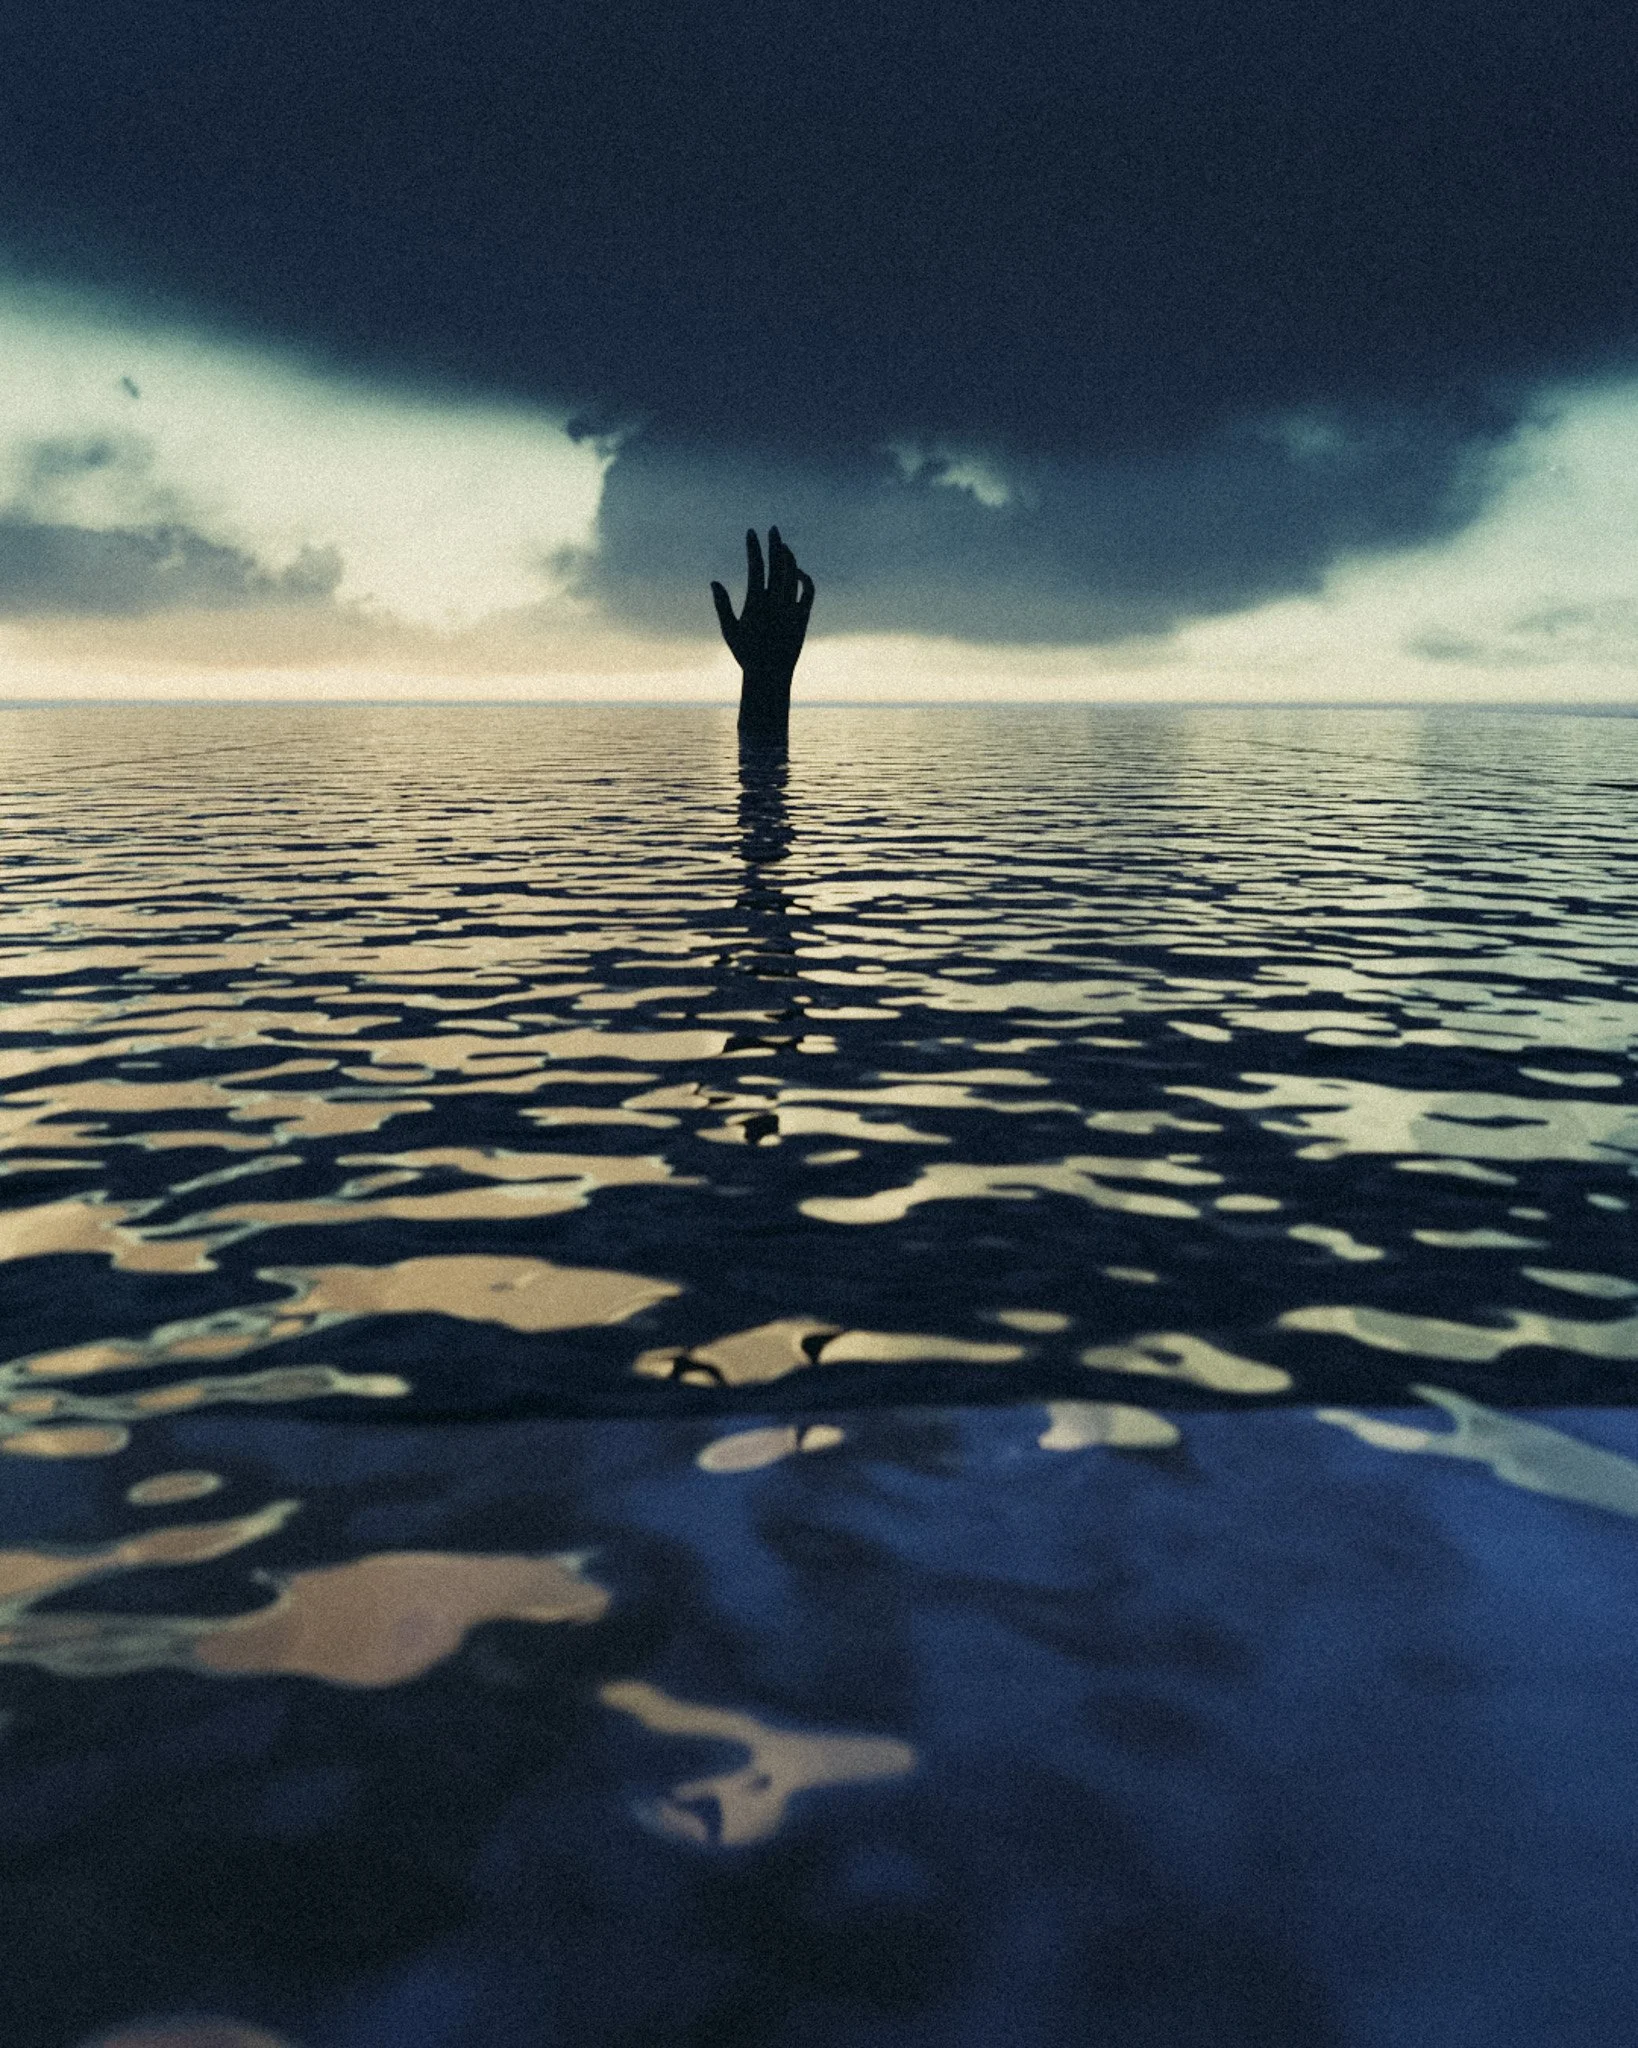
Anxiety
For ANXIETY, I sought to encapsulate the sensation of being engulfed by the ocean, mirroring the overwhelming emotions that anxiety can evoke, submerging us in its depths.
My vision was to craft an immersive experience that could be felt through various mediums based on how it was rendered. This includes a virtual reality (VR) experience that plunges viewers into the heart of the sea, and a gallery installation utilising projection mapping on multiple screens. These experiences envelop the audience in the vast, tumultuous expanse of the ocean, echoing the intense and all-encompassing nature of anxiety


Here is a screen grab of the wireframe for the “Anxiety” experience. This video reveals the different layers and materials I used in Blender to bring this project to life. You can see the intricacies of the model as it transitions from a basic wireframe structure to a fully realized 3D scene.
Materials and Textures
I carefully selected and applied different materials to each layer of the model for the desert sand and also the animation of the dark ocean and its giant waves. The materials range from basic shaders to complex textures, which help create the mood and atmosphere for the animation. For instance, I used harsh, red colours and sharp textures to evoke feelings of unease and tension, reflecting the theme.

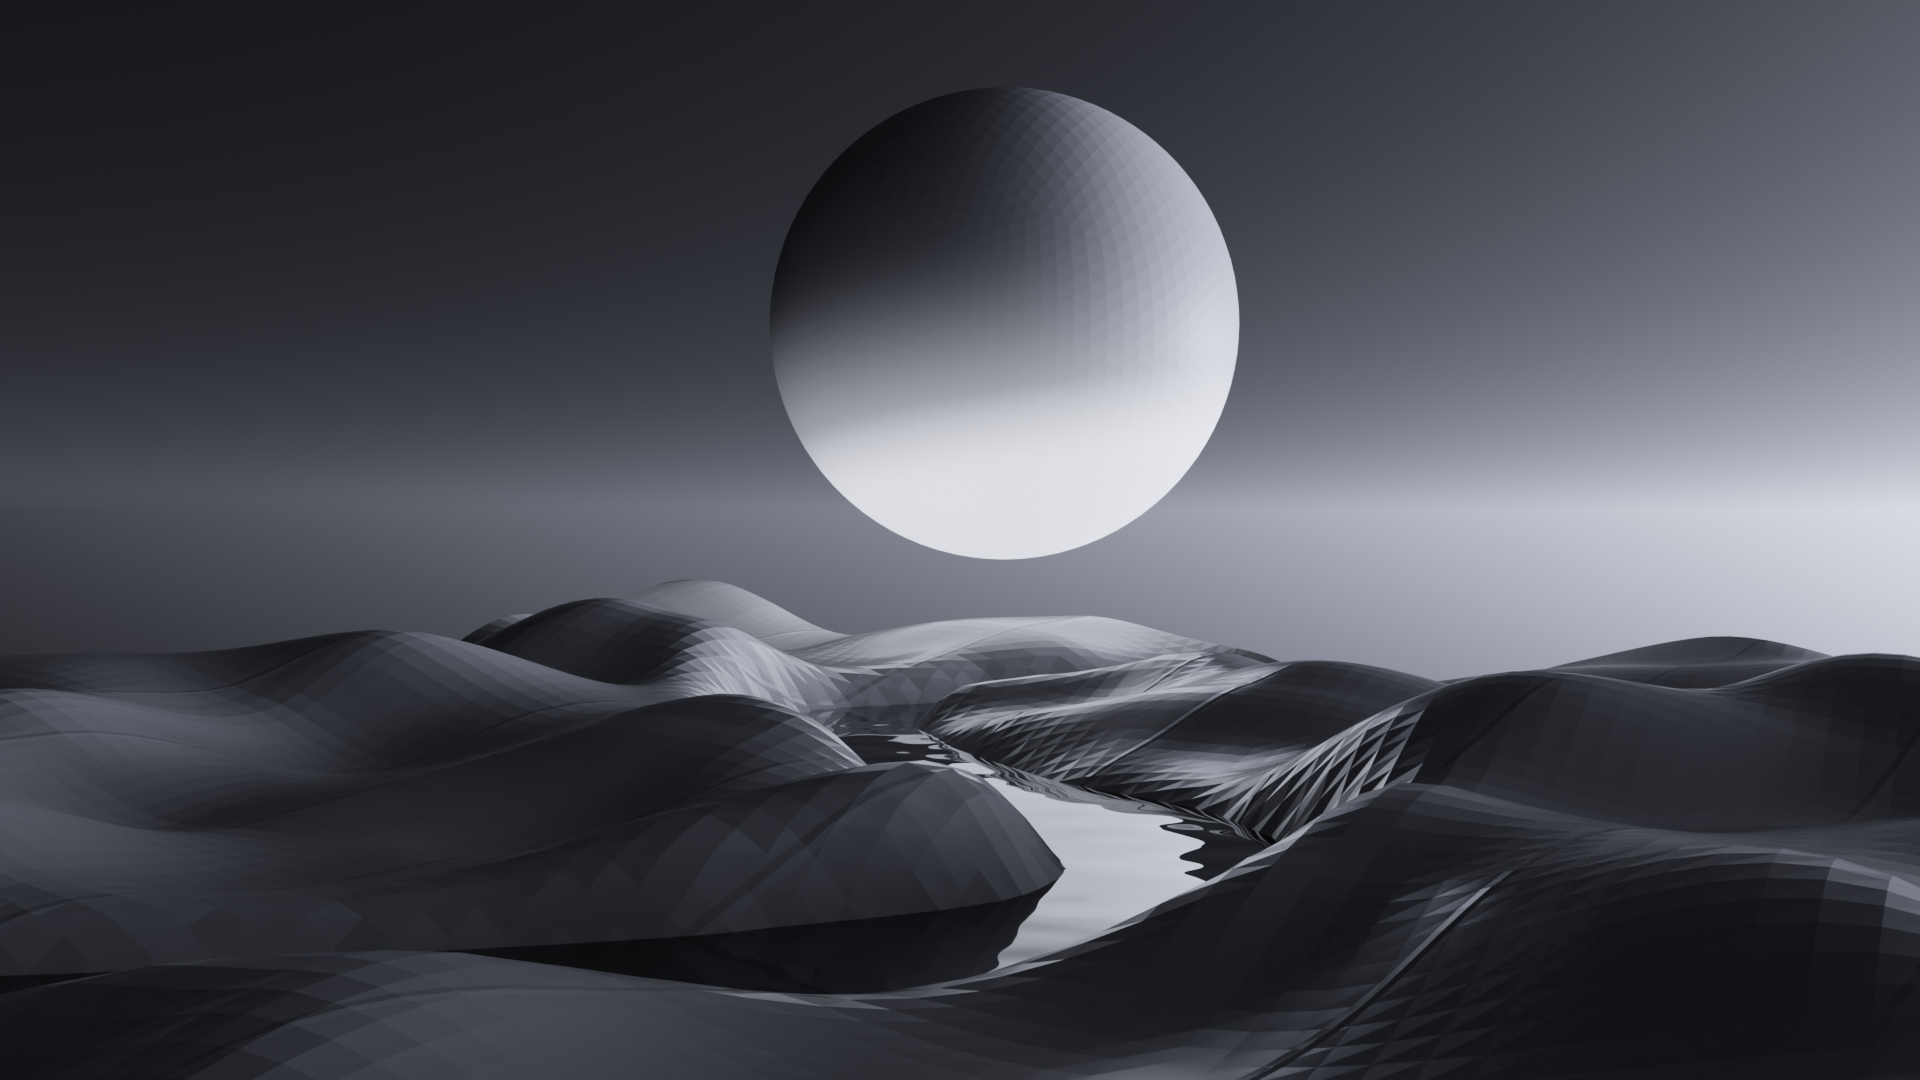
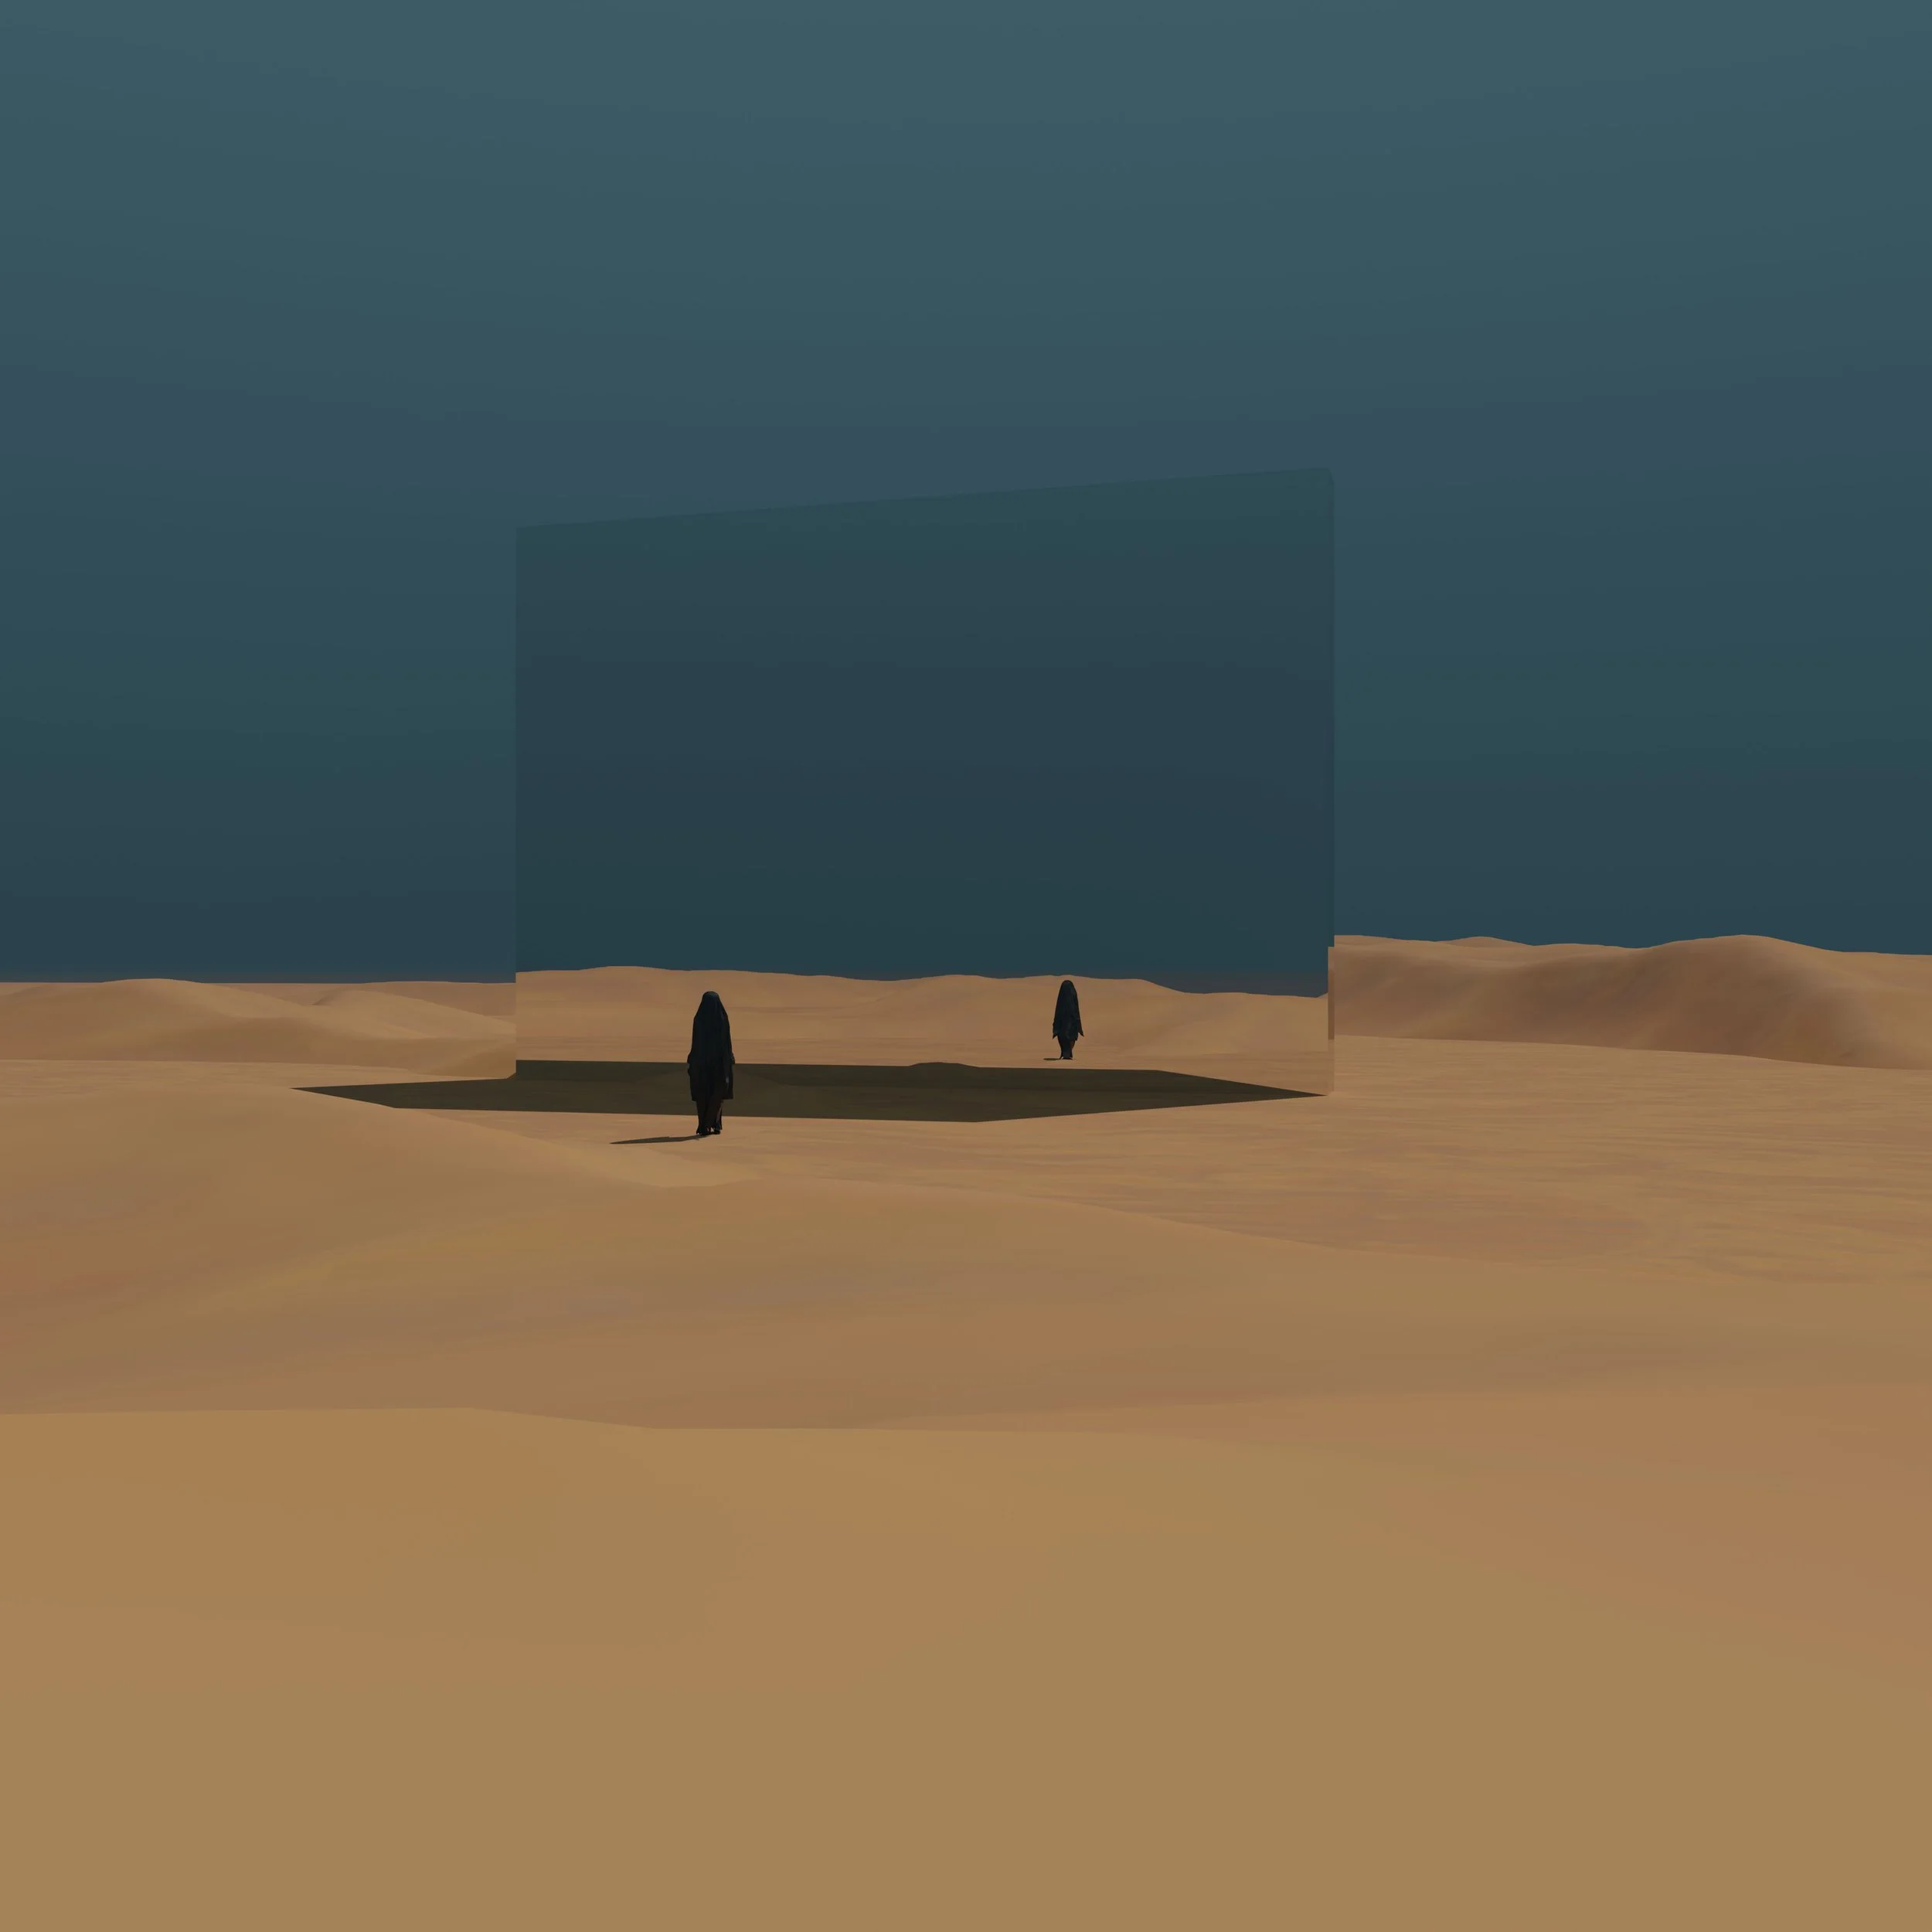
Desert
I designed a wireframe for a virtual reality (VR) journey through a desert filled with giant letters. Wearing the VR headset, you become the Shady Lady, a character inspired by my previous performance art. This experience explores the joy of not having an identity. When you encounter mirrored objects, you see yourself covered in veils, adding to the feelings of isolation and vastness.
This concept can also be adapted into a gallery installation with multiple screens and sand on the floor for an immersive experience following the journey of the lone walker.
Although the file was too large to render fully as an animation, I have several stills and wireframe images from the world I created.


Thank you!
Thank you from the bottom of my heart for this incredible opportunity. Being awarded the DYCP, and your belief in my potential has not only changed my practice but has also inspired me to dream bigger and work harder. I am so excited for what lies ahead and eager to carry forward the lessons and inspiration from this experience into my future projects. This funding has been a transformative gift, and I am endlessly grateful for it.